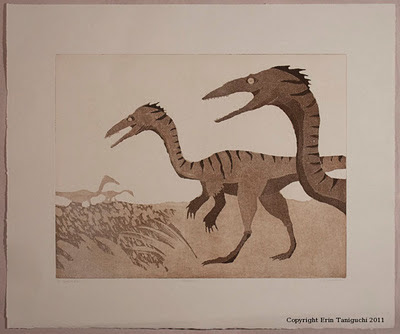
Final massive etching project that consumed all my time for the past two weeks. But it was worth it. :)
The project was to build an image, like we normally do. This was all done on the same plate, so this first image no longer exists. :(

Second step was to destroy it. This was the fun part, because if whatever you were trying to do didn't work out, it didn't matter. The goal was to make a mess and obliterate your image. I could have done more obliterating, but I was running out of time. Stupid deadlines.
Third step was to take your destroyed plate and build up another image. I wasn't expecting so much of my original image to show through, so I just added to the image. I really like the layering effect though. Very cool. I also like how the dinosaurs look like they're fading away.
etching
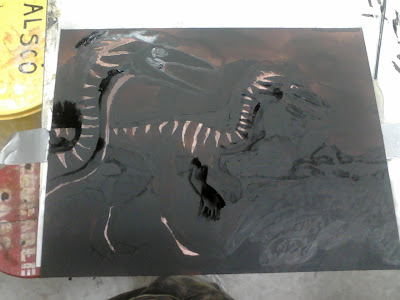
Some process photos:
Working on the first step of building up an image. Slowly covering up more and more of the drawing as I put the plate in the acid bath so I get a variation of greys. In photo-language, the exposed copper gets more "burning" time. Print-language, it gets more etching time. For some reason when I'm in the etching part of the process, I think of it like a photo darkroom. Not sure why.

Inking and wiping the plate. This can be a physical process, depending how big the plate is. I'm sure my plate is tiny compared to "real world" plate sizes, but my arm was getting sore. Or maybe I'm a wimp.
All those dirty cloths you see at the top of the photo are what we use to wipe the ink off of the plate. This is one of the messier parts of the whole process.
Plate ready to print. The ink stays in all the little "grooves" that have been etched into the plate.


No comments:
Post a Comment